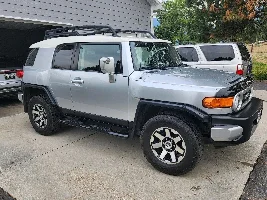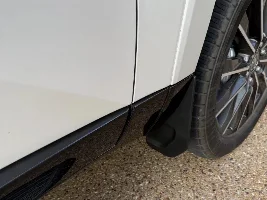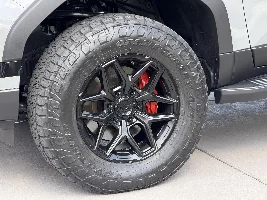





For those of us who get serious about playing in the dirt and rolling over rocks  - having a set of rock-sliders to protect the bottom door edges and rocker panels is a smart investment.

For many of us, however, the decision on which rock slider to purchase was made for us when our GX build included rock rails as a PIO that could NOT be changed by the dealer.
And unfortunately, the OEM GX 550 rock sliders DO NOT function as a step and thus entry into the vehicle or to the roof of the rig is significantly compromised. In fact, I would deem it a daily annoyance.
Most of us in that situation opted for two directions: 1. buy or trade for a set of OEM running boards (if not intending anything more than light trail use)… or 2. swap out to an aftermarket rock slider that also functions as a step (i.e CBI, Dissent, NYTOP, calraised or Slee), coming at a cost of between $1100 to over $2000.
Last week, I invested in the 3rd option and picked up a discounted set of ZOverlander rock rail steps. What follows is a detailed installation review (in the rain ️)… and my honest opinions on the product.

First a quick shout out to Yellowlab for suggesting this product and to Zach at ZOverlander for extending discounts for the forum.
Installation (in the rain) ..
So if you guys are anything like me, you look forward to the opportunity to finish work and be able to come home and work on stuff that you really like.. like your GX.. unfortunately sometimes the weather is not amenable.
I had fairly good shelter under my rear hatch for intermittent down pours - but most of the install was completed during a nagging drizzle.
ZOverlander Steps for GX 550 OEM Rockrails:
What you get: (in each set of 2 - $199 retail minus 15% off) - I bought two sets for front and back of my GX.
What you should have on hand to augment both the appearance and to protect the surface of your sliders should you choose to remove the steps at a later date:


Installation:
Step One: clean your rock rails.
Step Two: Test placement of your step. I found the perfect locations were as shown in the pictures. Place blue tape on edges.

Step Three: Cover the attachment areas with temporary PPF or other protective membrane.

Step Four: Load screws and spacers onto hardware - tape the top so they don’t fall out prematurely. Keep in mind the spacers are simply aesthetic so that you do not see the stainless steel bolt from the side. If you install the product correctly, there should be still a slight space between each of the spacers.

Step Five: Place the step in its installation position. Partially invert the step which allows initial threading of bolts with greater ease.

Step Six: Rotate the step and mounting hardware to its intended position assuring that it is level. Put a drop of loctite on each of the bolts. And then tighten bolts from below in a cross pattern akin to putting on lug nuts. If you have a torque wrench the instructions tell you to tighten to 40 “in-lbs” (which in my case I estimate as 1/3 of a uga duga - “tight to the point of the Allen wrench beginning to flex.”


And that’s it..

Now the PROS AND CONS:
PROS :
CONS:
If you have any questions on the install or experience feel free to DM myself or YL.
Coupon code for this weekend: Lexus GX15 - for 15% off
Coupon code after this weekend: LexusGX10 - for 10% off
Link for steps:
Link for spacers:
- having a set of rock-sliders to protect the bottom door edges and rocker panels is a smart investment.For many of us, however, the decision on which rock slider to purchase was made for us when our GX build included rock rails as a PIO that could NOT be changed by the dealer.
And unfortunately, the OEM GX 550 rock sliders DO NOT function as a step and thus entry into the vehicle or to the roof of the rig is significantly compromised. In fact, I would deem it a daily annoyance.
Most of us in that situation opted for two directions: 1. buy or trade for a set of OEM running boards (if not intending anything more than light trail use)… or 2. swap out to an aftermarket rock slider that also functions as a step (i.e CBI, Dissent, NYTOP, calraised or Slee), coming at a cost of between $1100 to over $2000.
Last week, I invested in the 3rd option and picked up a discounted set of ZOverlander rock rail steps. What follows is a detailed installation review (in the rain
️)… and my honest opinions on the product.First a quick shout out to Yellowlab for suggesting this product and to Zach at ZOverlander for extending discounts for the forum.
Installation (in the rain)
..So if you guys are anything like me, you look forward to the opportunity to finish work and be able to come home and work on stuff that you really like.. like your GX.. unfortunately sometimes the weather is not amenable.
I had fairly good shelter under my rear hatch for intermittent down pours - but most of the install was completed during a nagging drizzle.
ZOverlander Steps for GX 550 OEM Rockrails:
What you get: (in each set of 2 - $199 retail minus 15% off) - I bought two sets for front and back of my GX.
- 2 aluminum plates
- 4 mounting brackets
- 16 stainless steel screws
What you should have on hand to augment both the appearance and to protect the surface of your sliders should you choose to remove the steps at a later date:
- 1 roll of temporary racing PPF or other protective barrier between the step and the rock rail.
- 1 roll of Blue tape
- 3/16 Allen wrench or 3/16 hex with a torque wrench
- 1 tube of Loctite
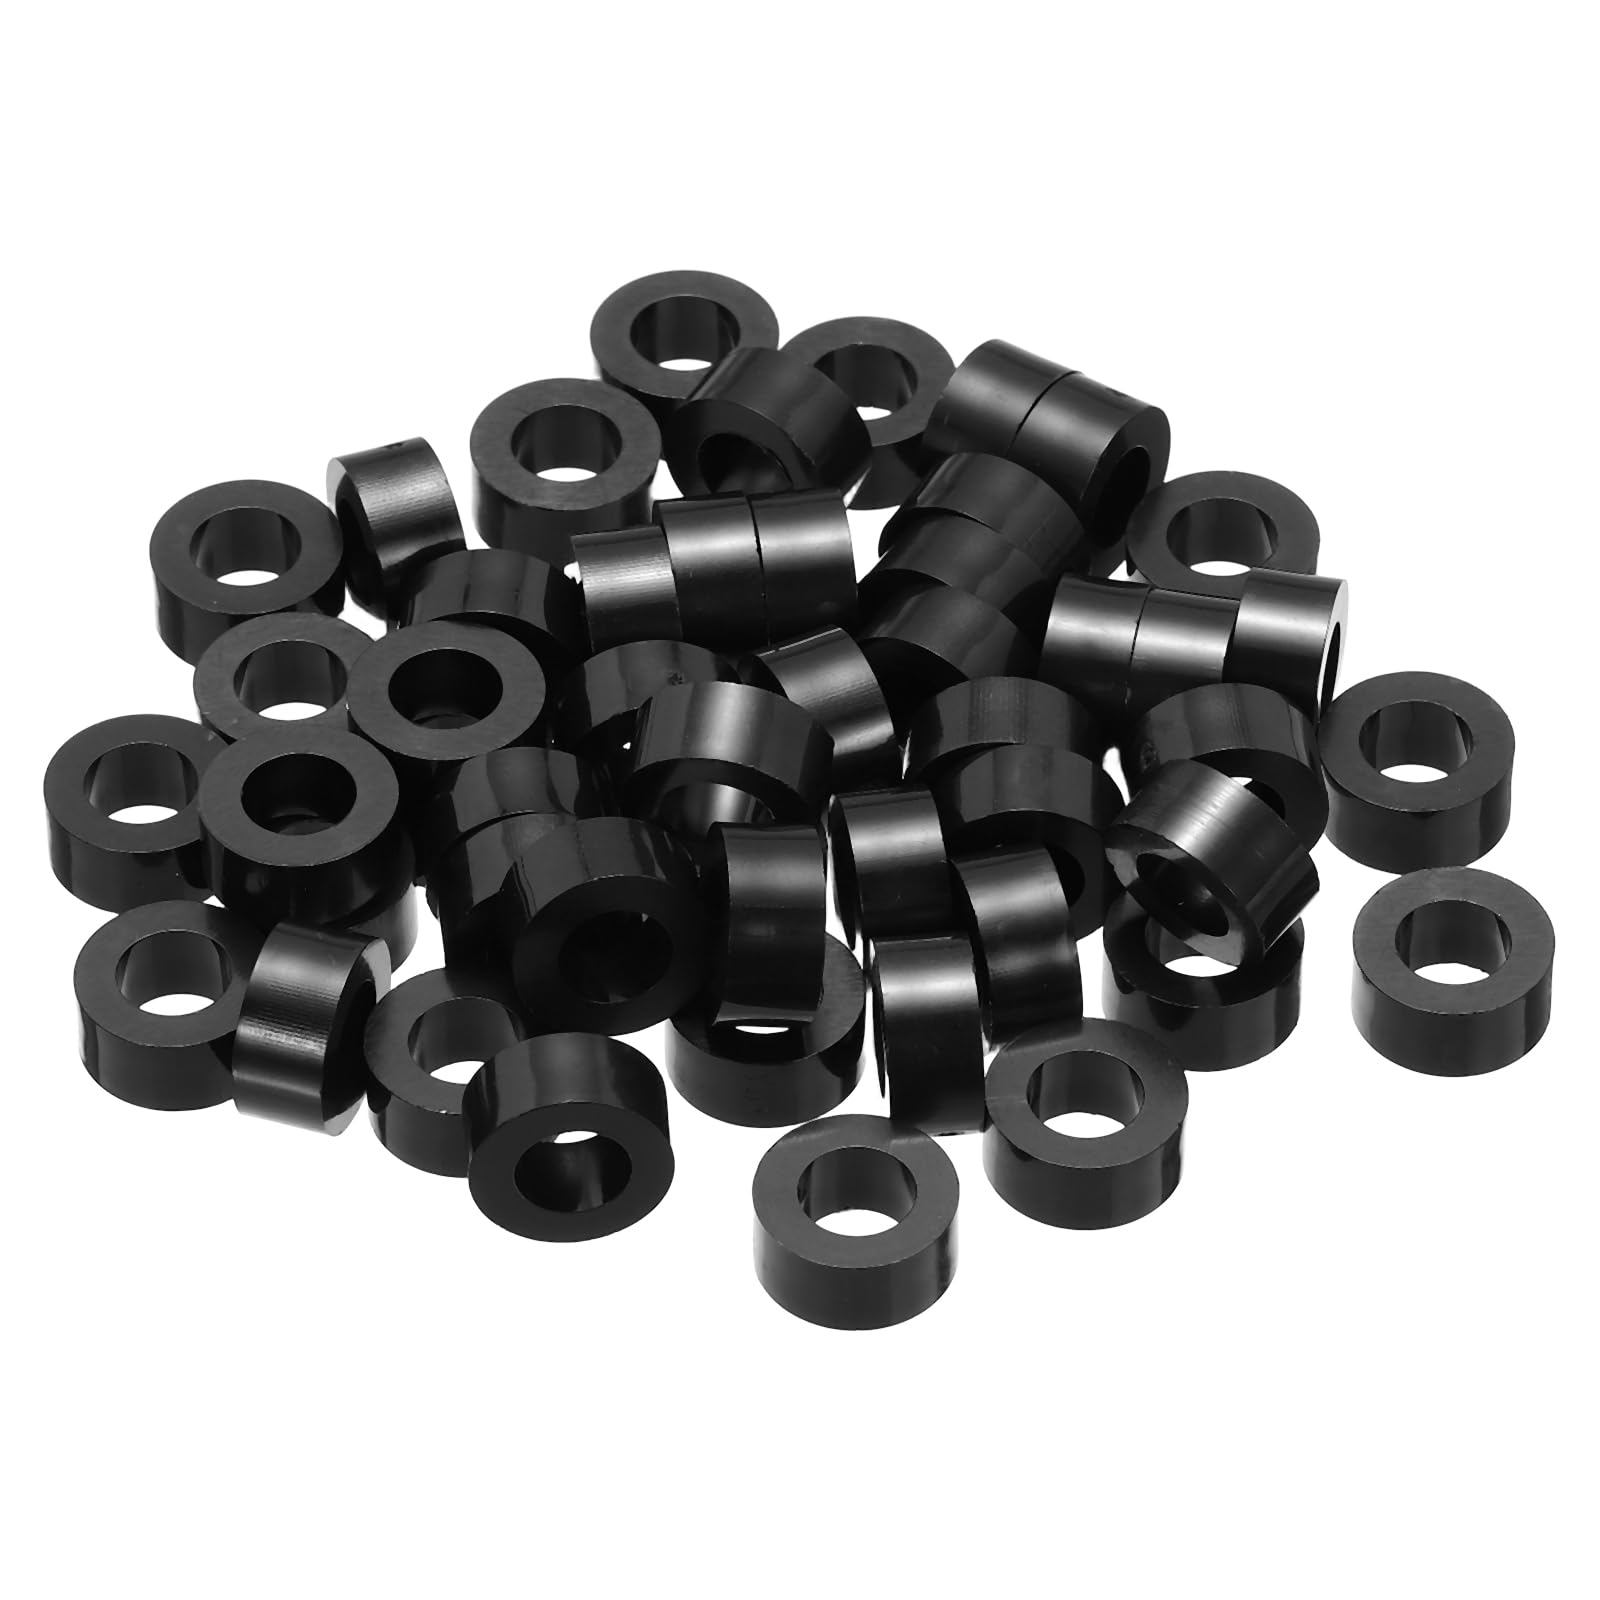
- ABS spacers - 6mm ID, 11mm OD, 5mm Height (see link below).
Installation:
Step One: clean your rock rails.
Step Two: Test placement of your step. I found the perfect locations were as shown in the pictures. Place blue tape on edges.
Step Three: Cover the attachment areas with temporary PPF or other protective membrane.
Step Four: Load screws and spacers onto hardware - tape the top so they don’t fall out prematurely. Keep in mind the spacers are simply aesthetic so that you do not see the stainless steel bolt from the side. If you install the product correctly, there should be still a slight space between each of the spacers.
Step Five: Place the step in its installation position. Partially invert the step which allows initial threading of bolts with greater ease.
Step Six: Rotate the step and mounting hardware to its intended position assuring that it is level. Put a drop of loctite on each of the bolts. And then tighten bolts from below in a cross pattern akin to putting on lug nuts. If you have a torque wrench the instructions tell you to tighten to 40 “in-lbs” (which in my case I estimate as 1/3 of a uga duga
- “tight to the point of the Allen wrench beginning to flex.”And that’s it..
Now the PROS AND CONS:
PROS :
- If you have OEM ROCK RAILS - this is a absolute “MUST HAVE” to make your life easier - washing your roof, entering and exiting the vehicle, and getting anything on or off the roof rack.
- For $338 on sale for 4 steps it’s really NOT too bad of an add. Much less than spending between $1100 and $2000 on an aftermarket “rail/step.”
- It does NOT add to the aesthetics of the GX 550, but it does NOT detract either. (IMHO).
- If you choose to swap out to either running boards or another rock rail with an integrated step that is always an option.
CONS:
- NONE : Quite literally NO downside (unless of course you intend on the immediate future to invest in aftermarket rock rails.) I may some day choose to take that course. But until then, for $338, it makes NO sense NOT to install steps at all 4 doors, given how much they augment day to day use of a vehicle equipped with OEM sliders in place.
If you have any questions on the install or experience feel free to DM myself or YL.
Coupon code for this weekend: Lexus GX15 - for 15% off
Coupon code after this weekend: LexusGX10 - for 10% off
Link for steps:
Link for spacers:
PATIKIL 50Pcs ABS Spacers 6x11x5mm (IDxODxH) for M6 Screws | Plastic Round Stud Spacer Black Nylon Washers Nut Unthreaded Rubber for M6 Screws Bolts Barrel: Amazon.com: Industrial & Scientific
PATIKIL 50Pcs ABS Spacers 6x11x5mm (IDxODxH) for M6 Screws | Plastic Round Stud Spacer Black Nylon Washers Nut Unthreaded Rubber for M6 Screws Bolts Barrel: Amazon.com: Industrial & Scientific
www.amazon.com
Last edited: