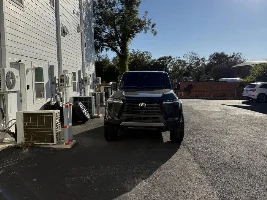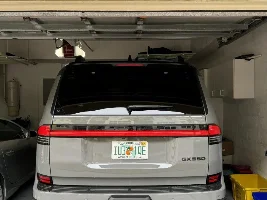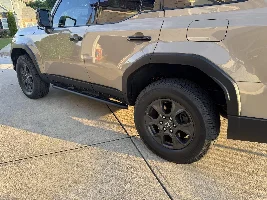





Finished install of the Aussie “Bonnet Protector” / Hood deflector. I would attest it’s an aesthetic add and a fairly simple install. See attached link for stepwise installation details from the Lexus Australia site:
That said a couple of caveats will keep the a simple process from becoming complicated.
First, a quick shout out to Munkeeboi (O.S.) for taking his time to locate, order, and distribute these for folks on our forum here in the USA. MKB you are a menche! THANK YOU

When I read these simple instructions it took me a couple of reads to figure out orientation of 3M tape (which side of the hood) and thought a couple tips may make an easy install easier - To quote YL - “this should take you 15 min”… In my case, after dropping a irreplaceable plastic anchor in the engine compartment, the process for me expanded from 15 min to about 40 min..

So first things first - TAKE YOUR TIME. Have everything you need and a table to put down the deflector while you are working.
You will need the following tools:
- A large towel to prevent dropping a piece of plastic into the engine compartment. (as I did).
- Philips screw driver. - for screwing in two screws (center of the deflector)
- Flat head screwdriver - you may need this to pry open one or more of the clips. (I only had to do this one one of them)
- A small set of long nose locking pliers to prevent the grey plastic attachment base from rotating while screwing in the screws.
- A rubber mallet with a little gusto and patience.
- Blue painters tape for marking clip location.
- Second set of hands at time of mounting.
The 3M tape pieces come in 3 sizes: the 2 x 150 mm ones go on the outside edges. The 4 x 80 mm ones also on the outside as shown on the diagram. (And picture below) … And the 50 mm ones go over all 6 of those spots oriented in a perpendicular fashion going over both the outside and inside surfaces of the hood. For me this was not immediately intuitive.
The deflector (and its tabs) sits on the outside of the hood and the clips clip into those tabs, which then slide onto the hood (which is covered with two layers of protective 3M tape)
with the help of a mallet (a little bit of an unnerving process, being that you are hammering a clip on the edge of your hood.)
Marking the position of holes in those tabs/ clips is key to have your protective tape pieces positioned correctly.
Miss this and the protective 3M tape will not be in the right spot. Even with blue tape marking, mine was slightly off at the end.
So double and triple check. My advice is do a second recheck prior to putting the second layer of 3M tape.
Use a flat head (when needed) to pry the clip slightly open IF needed when sliding clips onto the tabs.
Cover the engine compartment to prevent loosing a piece (which would be hard to replace here in the USA.
Last two tips:
Sliding the deflector onto the hood once clips have been installed requires both alignment and gentle use of a mallet to make the clips “slide” into place.
Lastly, unfortunately, the little grey plastic piece WILL turn while you are attempting to screw in the two grey center anchors.
Using a locking plier will help you keep the anchor from rotating while screwing it in place on the two center screw points.
Hope this helps ..
Last edited: