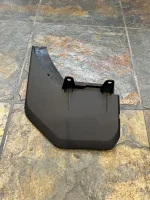
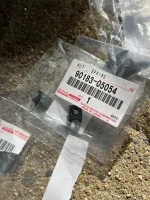
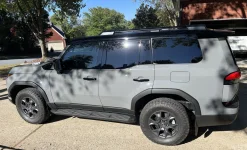
I Ordered these for my
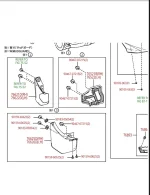
GX550 Luxury Plus and they are correct for that Model. Lexus Dealer Part Numbers below
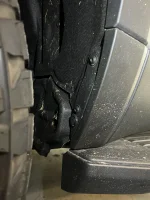
View attachment 4913
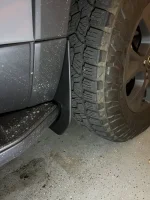
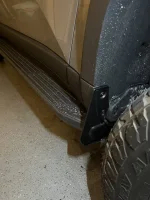
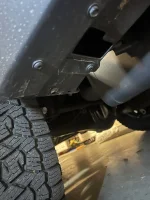
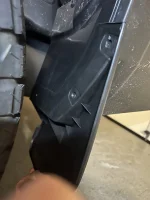
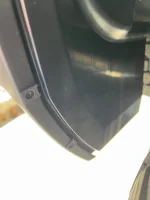
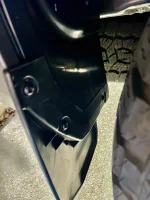
It took a little time at first as the tires in the back were tough to work around with 2 of the screws. They look amazing and fit perfect. Lux + has the Running boards that drop down when the door is open and I checked before install and no issues.
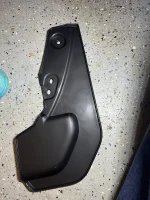
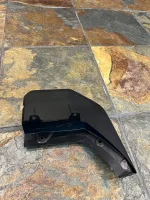
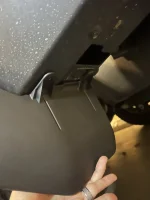
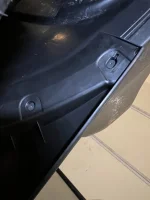
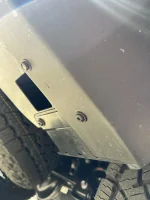
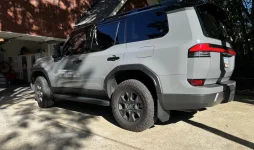
For the fronts, there are two screws you unscrew and there is a 3rd space where there is a plastic Plug. I pulled it out and realized after a bit of time, you take a screw driver to pop the center out so you can use it again. If you do not, it won't go back into the hole and "pop" fastened.
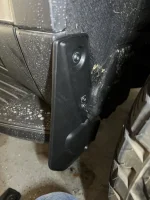
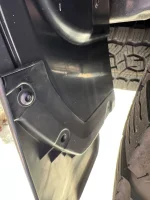
The backs were also pretty easy except I struggled with the middle and inner most to work around the wheel. I used a screw in all three front places, but used two clips on the outer holes that are pre marked. I just pushed a nail through the plastic not too big but for the screw to catch and go in. The 2 underneath screws lined up perfectly. So 5 Screws in the back. 2 in the front and "pop plug" taken out and put back in.
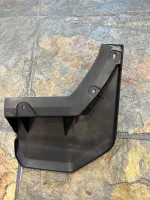
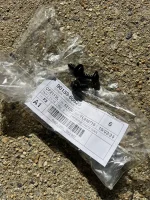
I took the risk that these were correct for a
NON Overtrail Model, and they were and OEM. Very Nice. I want to thank SVEC OT + for all your input and direction. I'm a bit of a novice and without your data, I wouldn't be able to figure it out. So thank you and my car thanks you.


")