R
RickBullotta
Guest
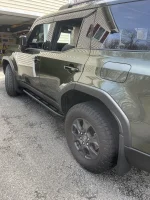
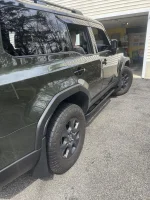
Ok, here’s a post after rear mudguards installation - hardware arrived today, super easy to install for the most part. I was being careful and maybe took 15mins.
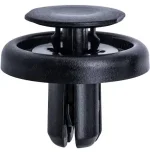
I’ll try and attach pictures to help, I was sent a diagram that included part numbers for the hardware. Instead of the clip, I used an additional screw with washer (see diagram).
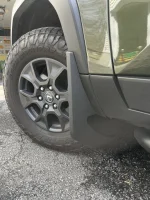
First, I placed the spring nuts on the indentions where screws will go inside the wheel well. Then, I took out the existing screws on the bottom of rear bumper behind the wheel well and placed the mudguard and then reinstalled the same screws - it holds the mudguard in place. Then I went into the wheel well and placed the top screw. Make sure to pull it flush with the line of the bumper and then tighten. I then placed screws in the other two holes. The hole furthest away in the wheel well is supposed to have a plastic clip, but I just ordered an extra screw and used one instead, it seems to have good seating in the plastic and is tight.
See some pictures below and happy to answer any questions, but it was pretty easy. As mentioned on previous post, the front mudguards use all the existing screws/clips, so no new hardware needed there.
Thanks for the parts list and the pics. Mine showed up today - 15 minute job start to finish. Used a T25 wrench and a cordless drill with a 90 degree attachment. Ridiculously easy to do. And the factory guards look good and fit well. No way I'd put those jank generic Chinese crap mud flaps on my GX. I really appreciate you sharing the details - it helped a lot.