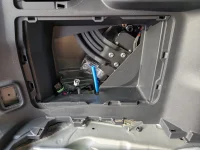
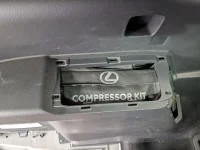
Does anyone have pictures of the air hose? Can it inflate multiple tires at once or just one at a time?
OEM Air Compressor
- Thread starter Zach993
- Start date
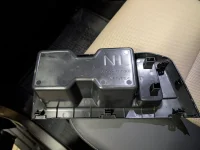
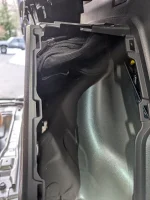
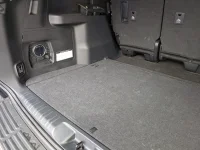
📷 Lexus GX 550 Random Images


📷 Lexus GX 550 Random Images